Once in a Blue Moon Gallery - Local Artist Blog
Today's topic: How to create a mold from my clay sculptures
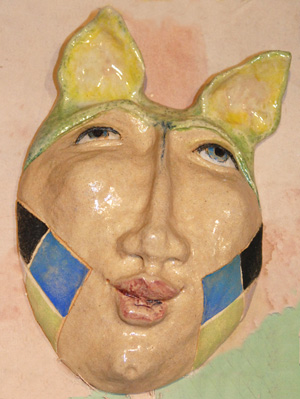
Sculpting for bronze is a fascinatating process, this method is used for making molds of original sculptures. Generally it is used when making wax masters for the lost wax technique, but I use these for making duplicates of my clay sculptures.
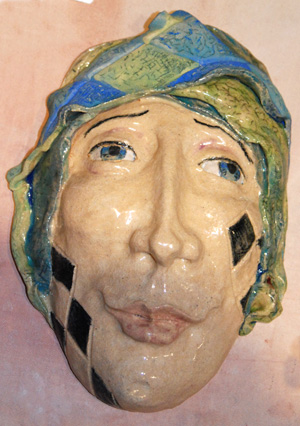
In this section I will describe the process used to make these molds, it is messy and time consuming but helps take the fear out of experimenting with different glazes when firing.
approx. size: 9.5 inch by 6.5 inch |
 |
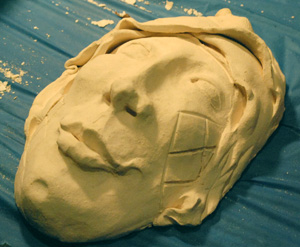 |
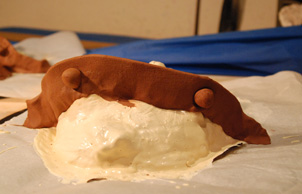
| Step 1 I usually make my molds from the raw clay sculpture before bisque firing. The sculpture for this example has been fired to Cone 04 and dusted well before adding the Latex layers. I purchase my Latex from Georgies Clay Company in Portland Oregon. (I love their products and they are always so helpful trouble shooting when you have problems.) |
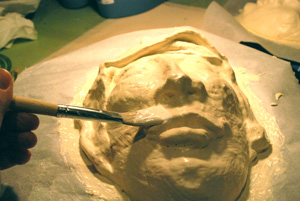 |
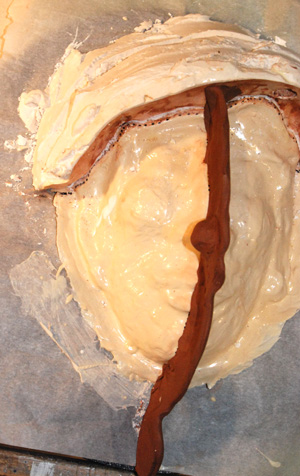
| Step 2 Applying the latex. The first layer must be applied as careful as possible avoiding bubbles. Six or more layers of latex is required depending upon the size of the sculpture.( Small sculptures do not require as many layers.) It is best to allow the latex to dry completely between layers. This new latex that I am using can be thinned with water, but do not apply it directly over anything metal, as it will degrade and darken. Latex molds can actually be used for many years if taken care of, but with use they will eventually need to be replaced. |
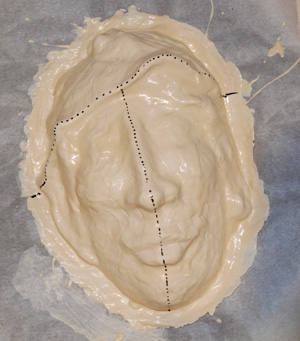 |
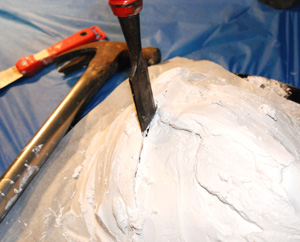
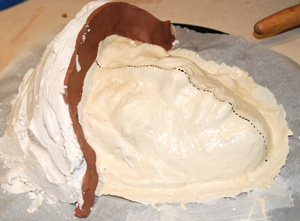
| Step 3 This jester will need to be created in three pieces, because of the heavy undercuts or the plaster pieces will not come off of the original. Lines are drawn to mark the highest points, these will be where the clay borders will be placed to separate the plaster. |
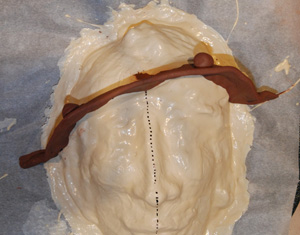  |
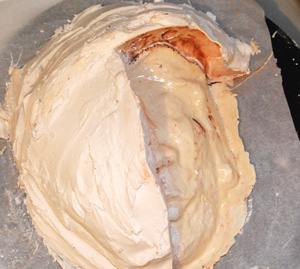
| Step 4 A soft clay barrier is positioned on the first line, taking care to keep it smooth, and even. Half of a ball shape is applied in a few places as a "Key" for holding the mold together when in use. |
|
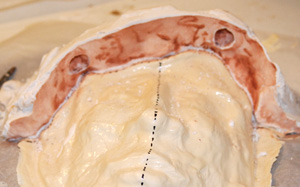
| Step5 Mix your plaster as directed-- I use Hydrocal for my mother molds, but you can use a very low grade plaster for this process. Once the plaster has set, peel out the soft clay and use a sculpture tool to cut off irregularities. Now you must coat the edge and top part of the plaster with some liquid soap to keep the next plaster section from sticking. |
|
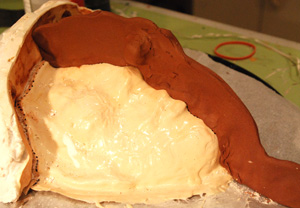
| Step 6 We repeat steps 4 and 5 on this section, again don't forget the soap on the edges and top. |
 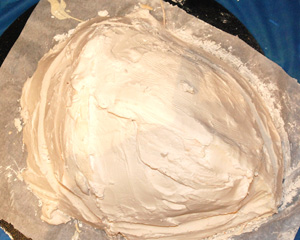 |
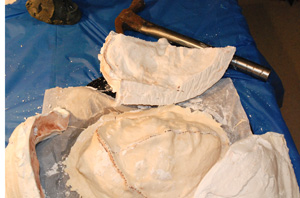
| Step 7 Ready for the last section of plaster to be applied. **Don't forget to soap each section so that the plaster mold may be released later When you finish the last section of plaster, use your carving tools to clean up the seams of the mold. A tip: I usually score a ridge about an inch or more from the base in the soft plaster. This will allow you to put a large band or wire around it to hold it together when in use (I use old sections of inflatable tires that I find on the beach--like giant rubber bands). Let the mother mold (plaster) sit and cure about 24 hours before opeining it. |
|
Step 8 It is wise to cure these pieces until thoroughly dry. Some folks like to spray the plaster sections with a varnish to protect them after they are dry. |